
This week on Open Book Blog Hop we are sharing a tutorial. I thought I would share how to make a leather cuff bracelet.
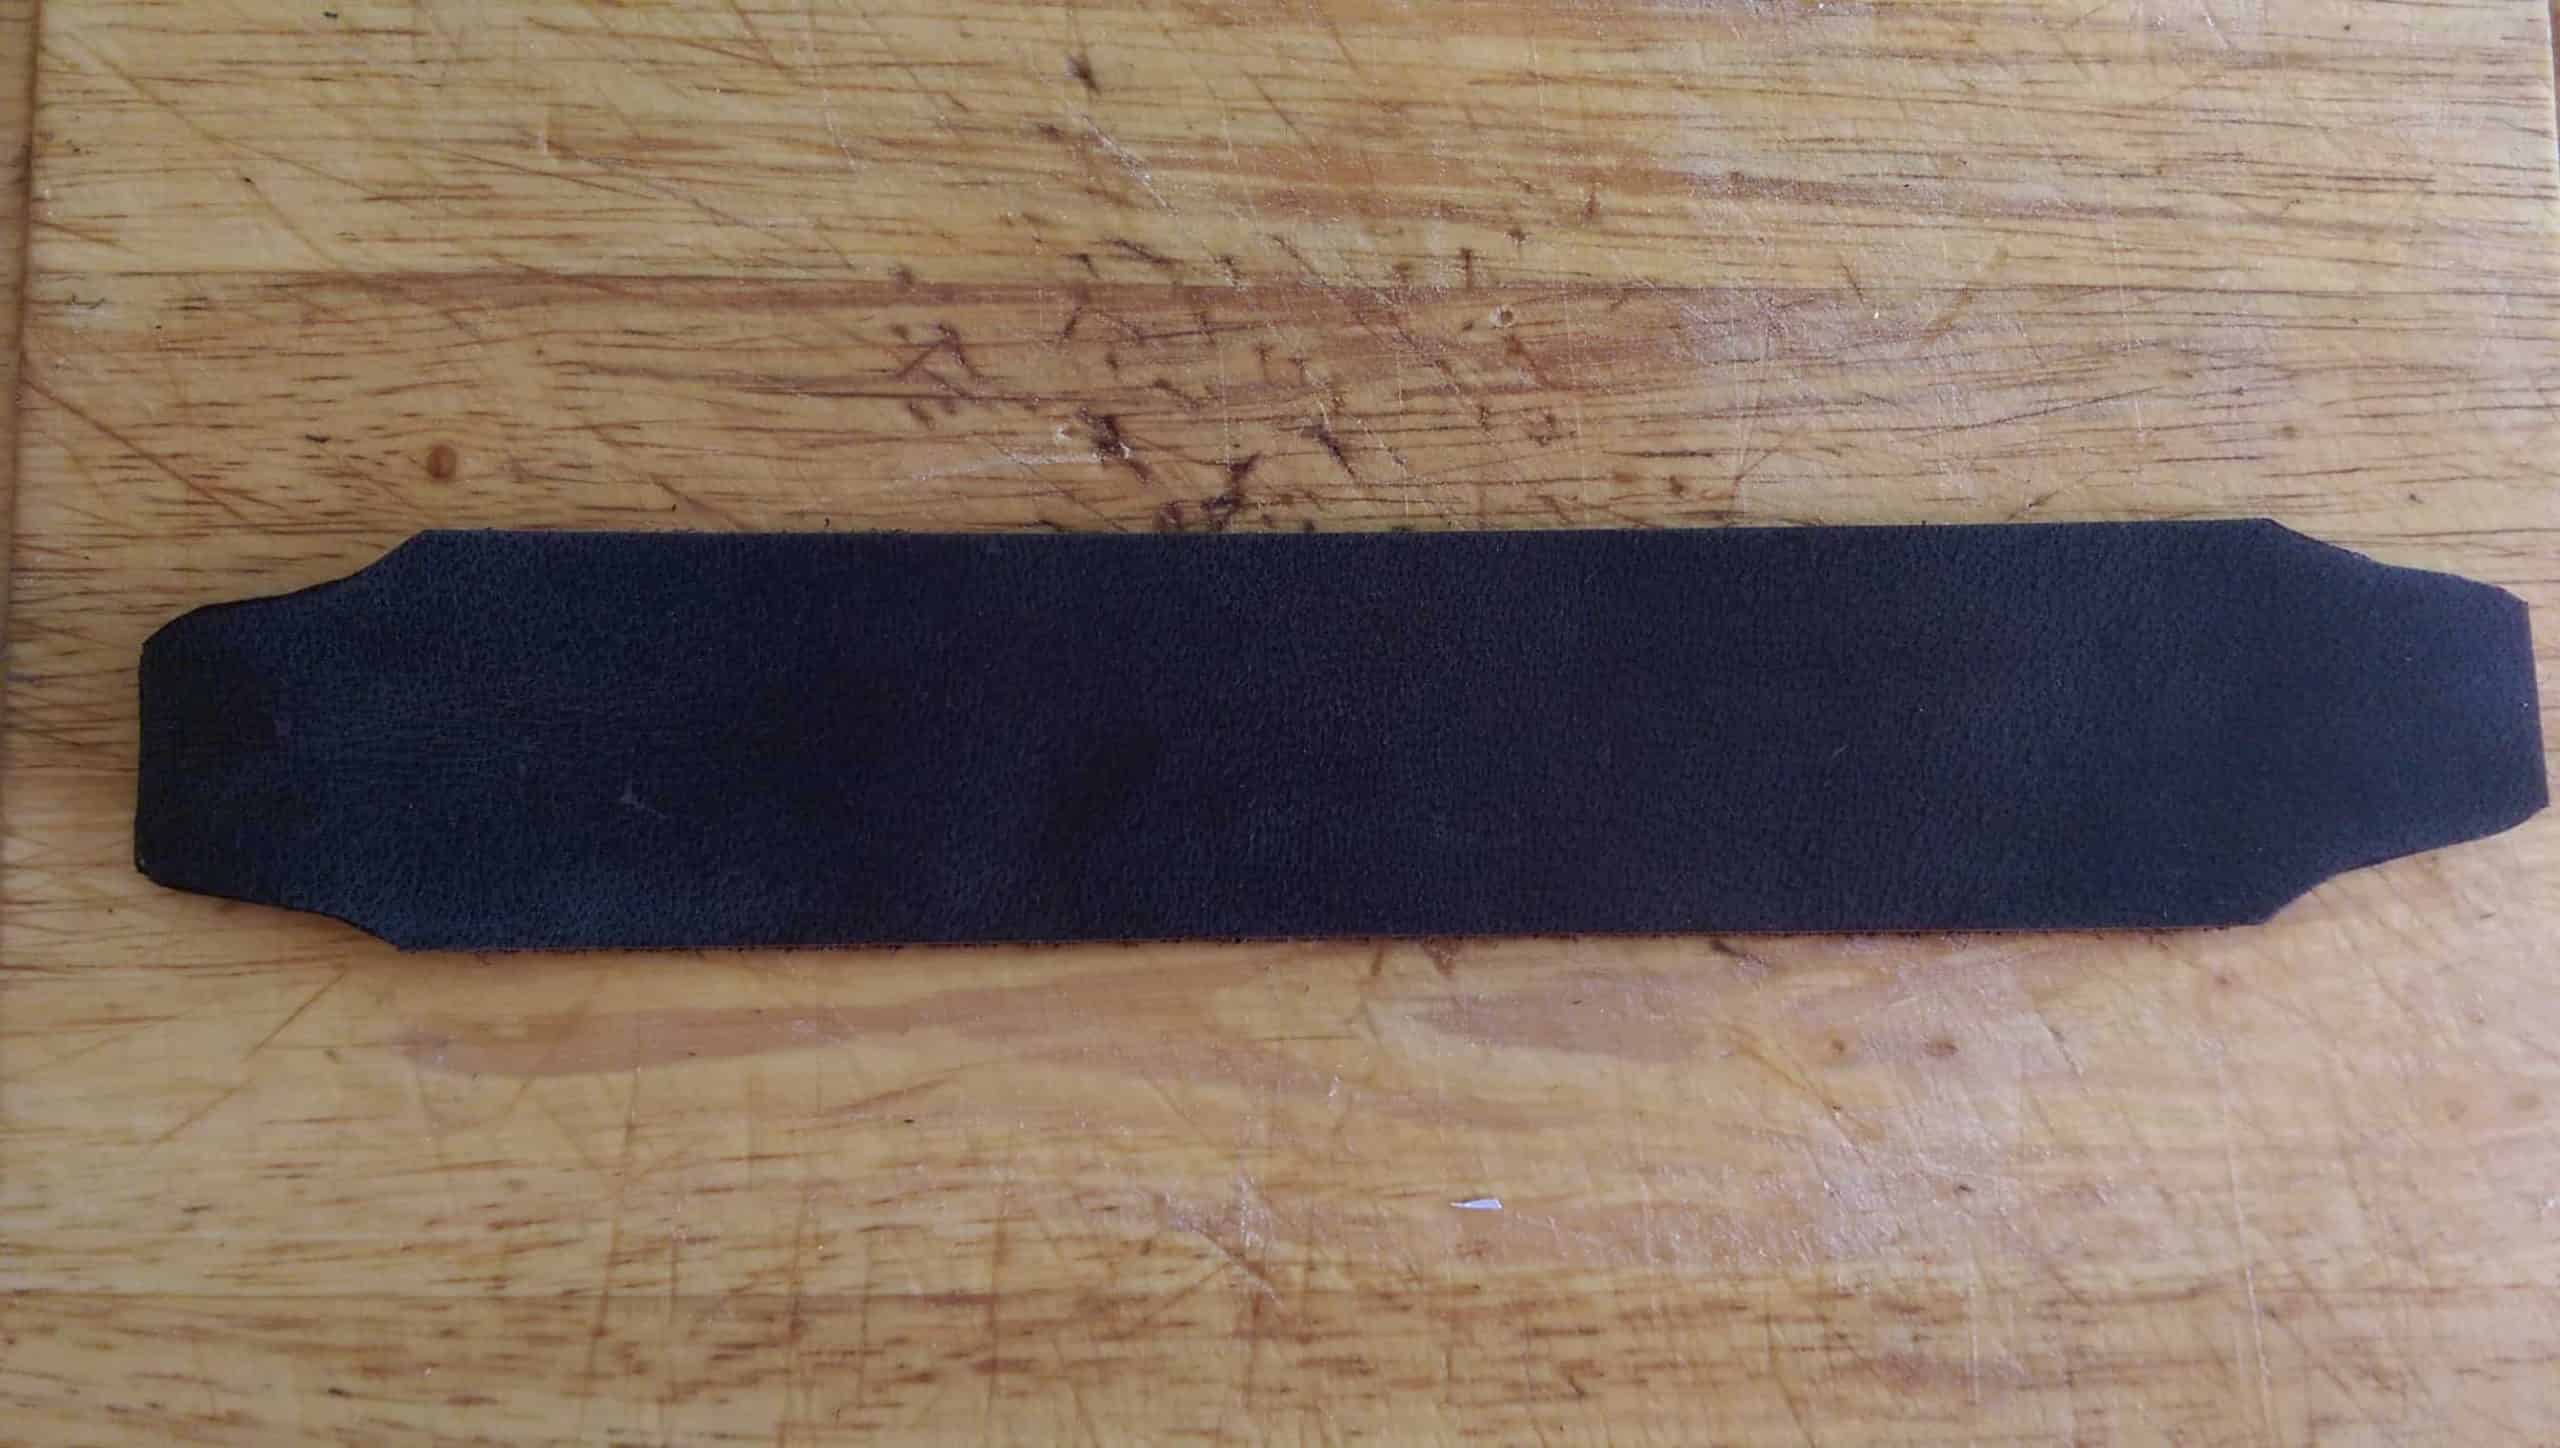
I began with strips of leather I purchased at a craft store. It wasn’t expensive and it was fairly easy to use. This particular leather is brown in color and about 1 1/2 inches wide. I cut a strip that was 8 1/2 inches long. This is a measurement that fits my wrist, so you should measure to make sure it will fit you. I measured my wrist, plus added length for the size of my fastener (snap) twice because of the over-lap. (I am working on a cutting board). I’ve tapered both ends so it is more comfortable to wear and also so the edges won’t roll over after repeated wearing.
I’ve chosen a design I like and this one happens to come in a pre-made package with a sticky back.
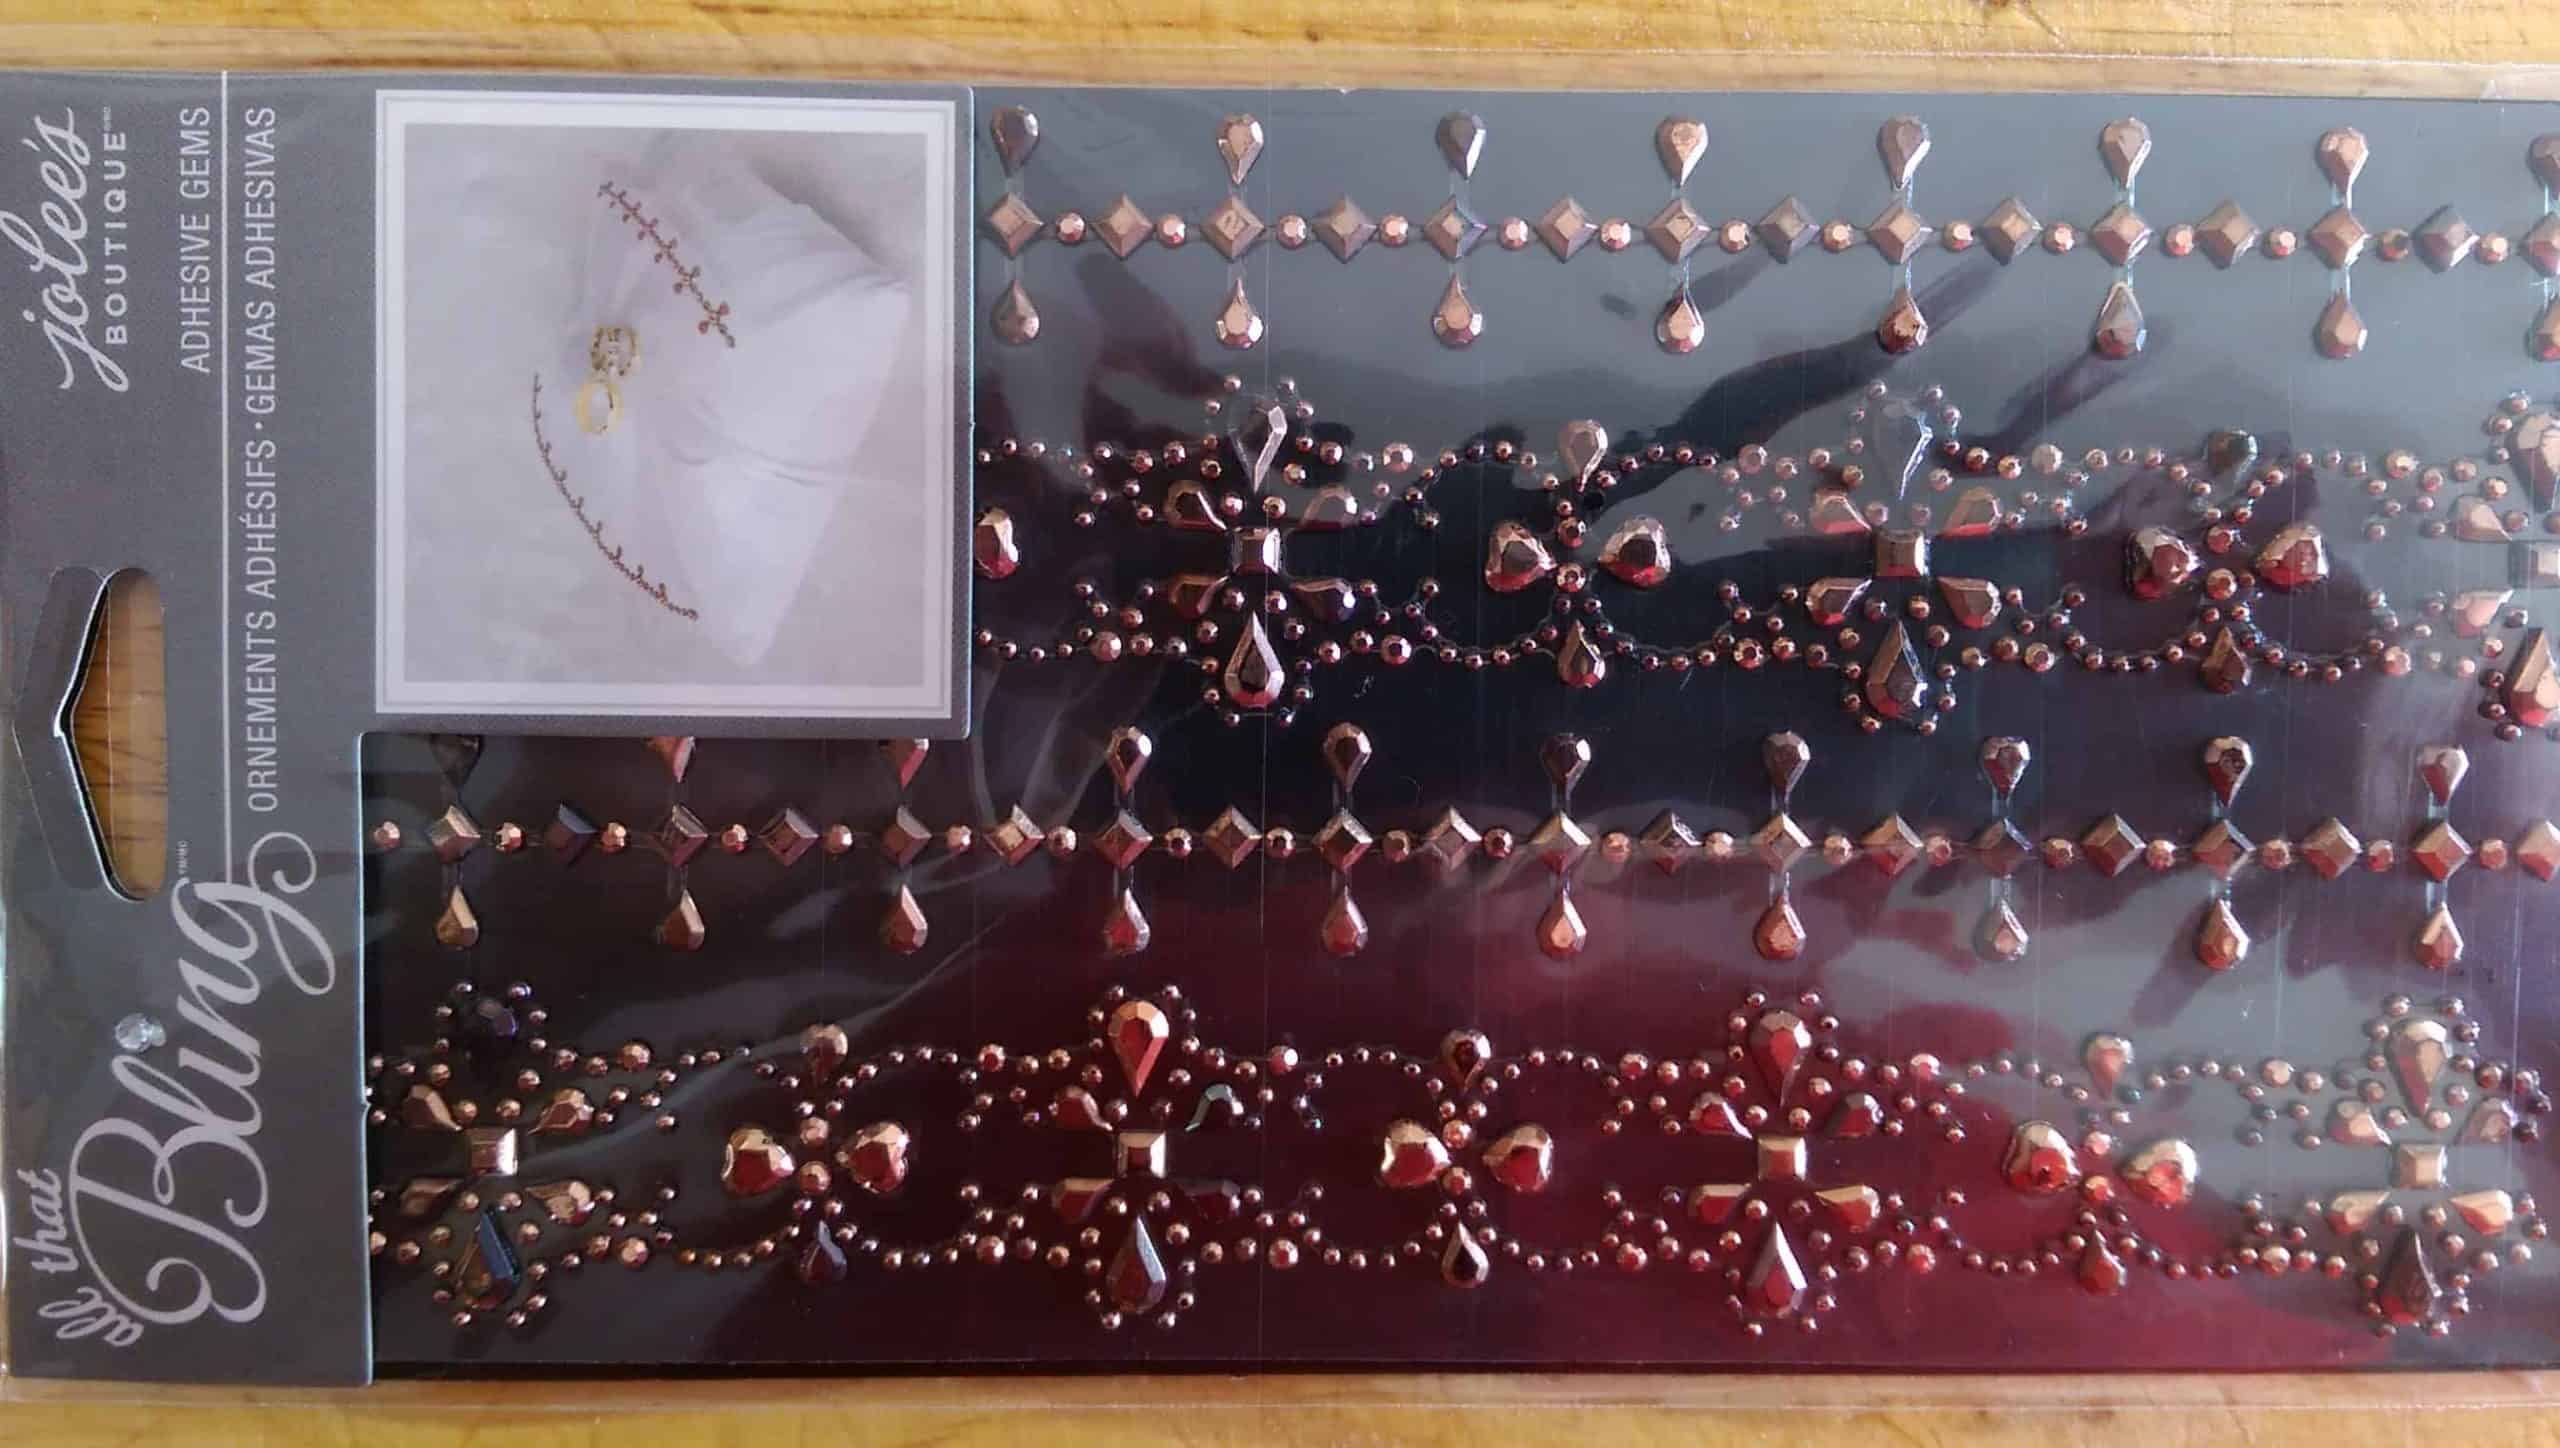
Apply the decoration to the leather strip. (This particular decoration is made to adhere to leather and all fabrics.)
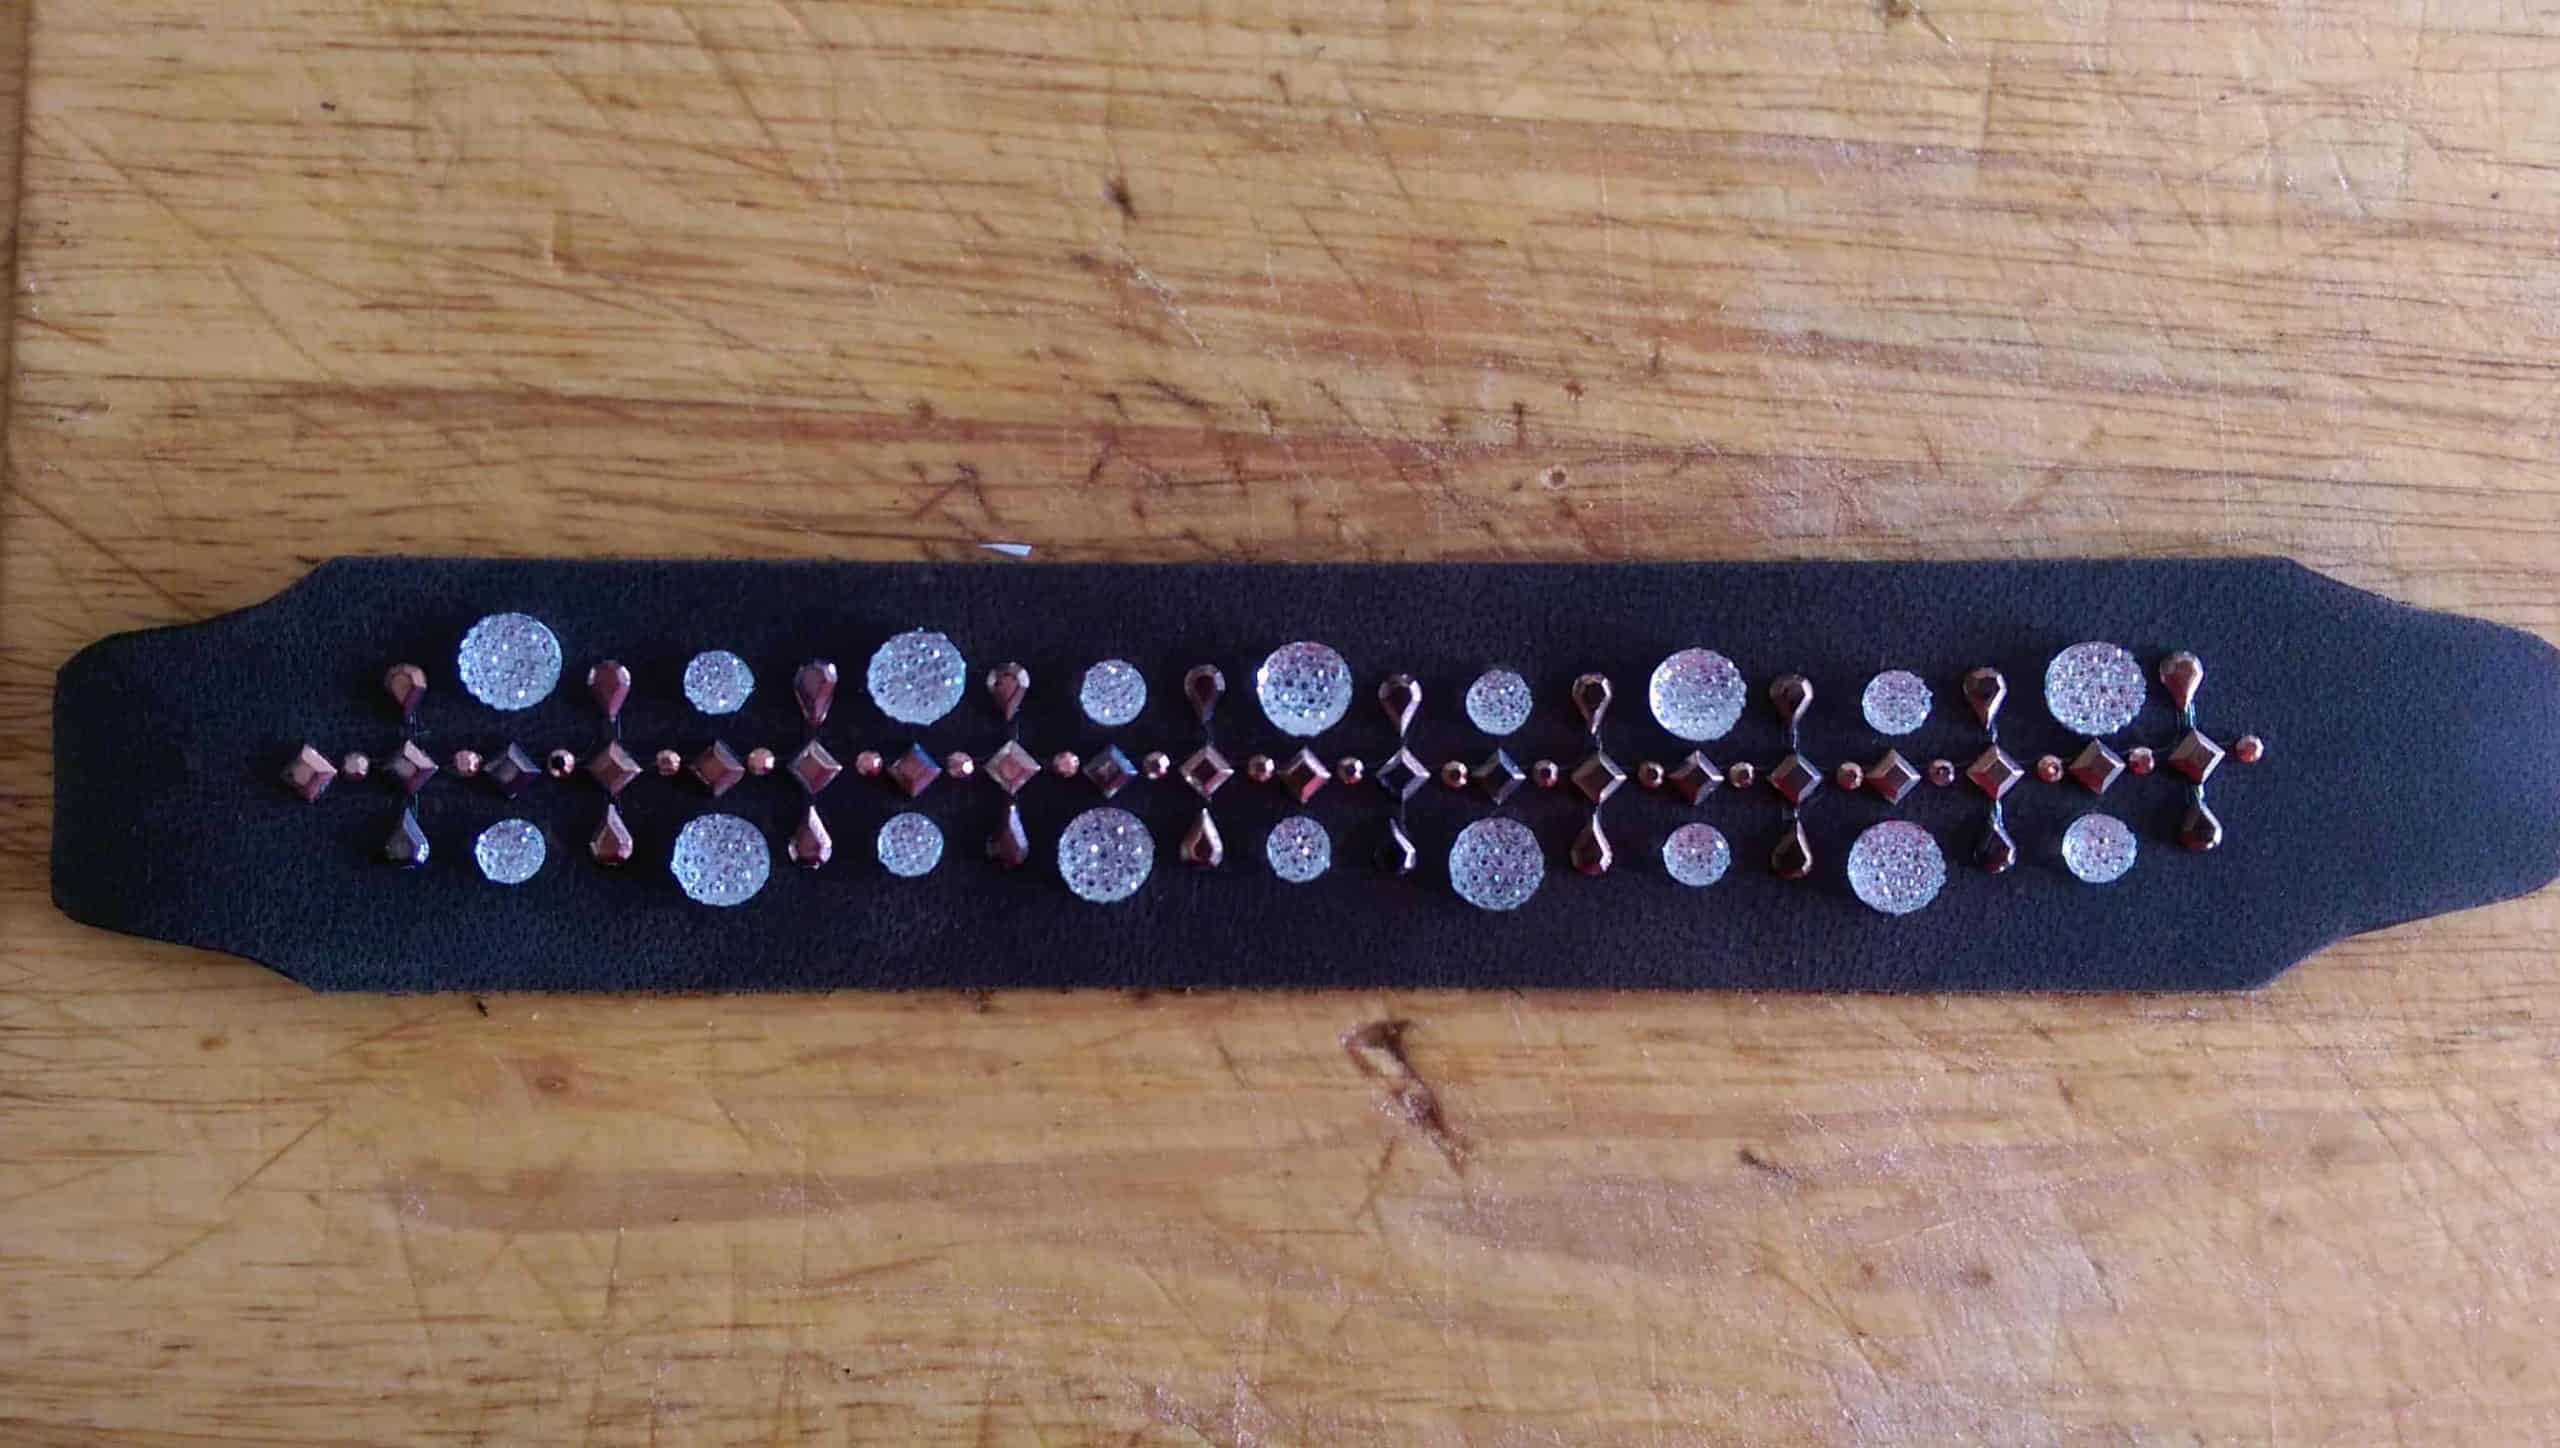
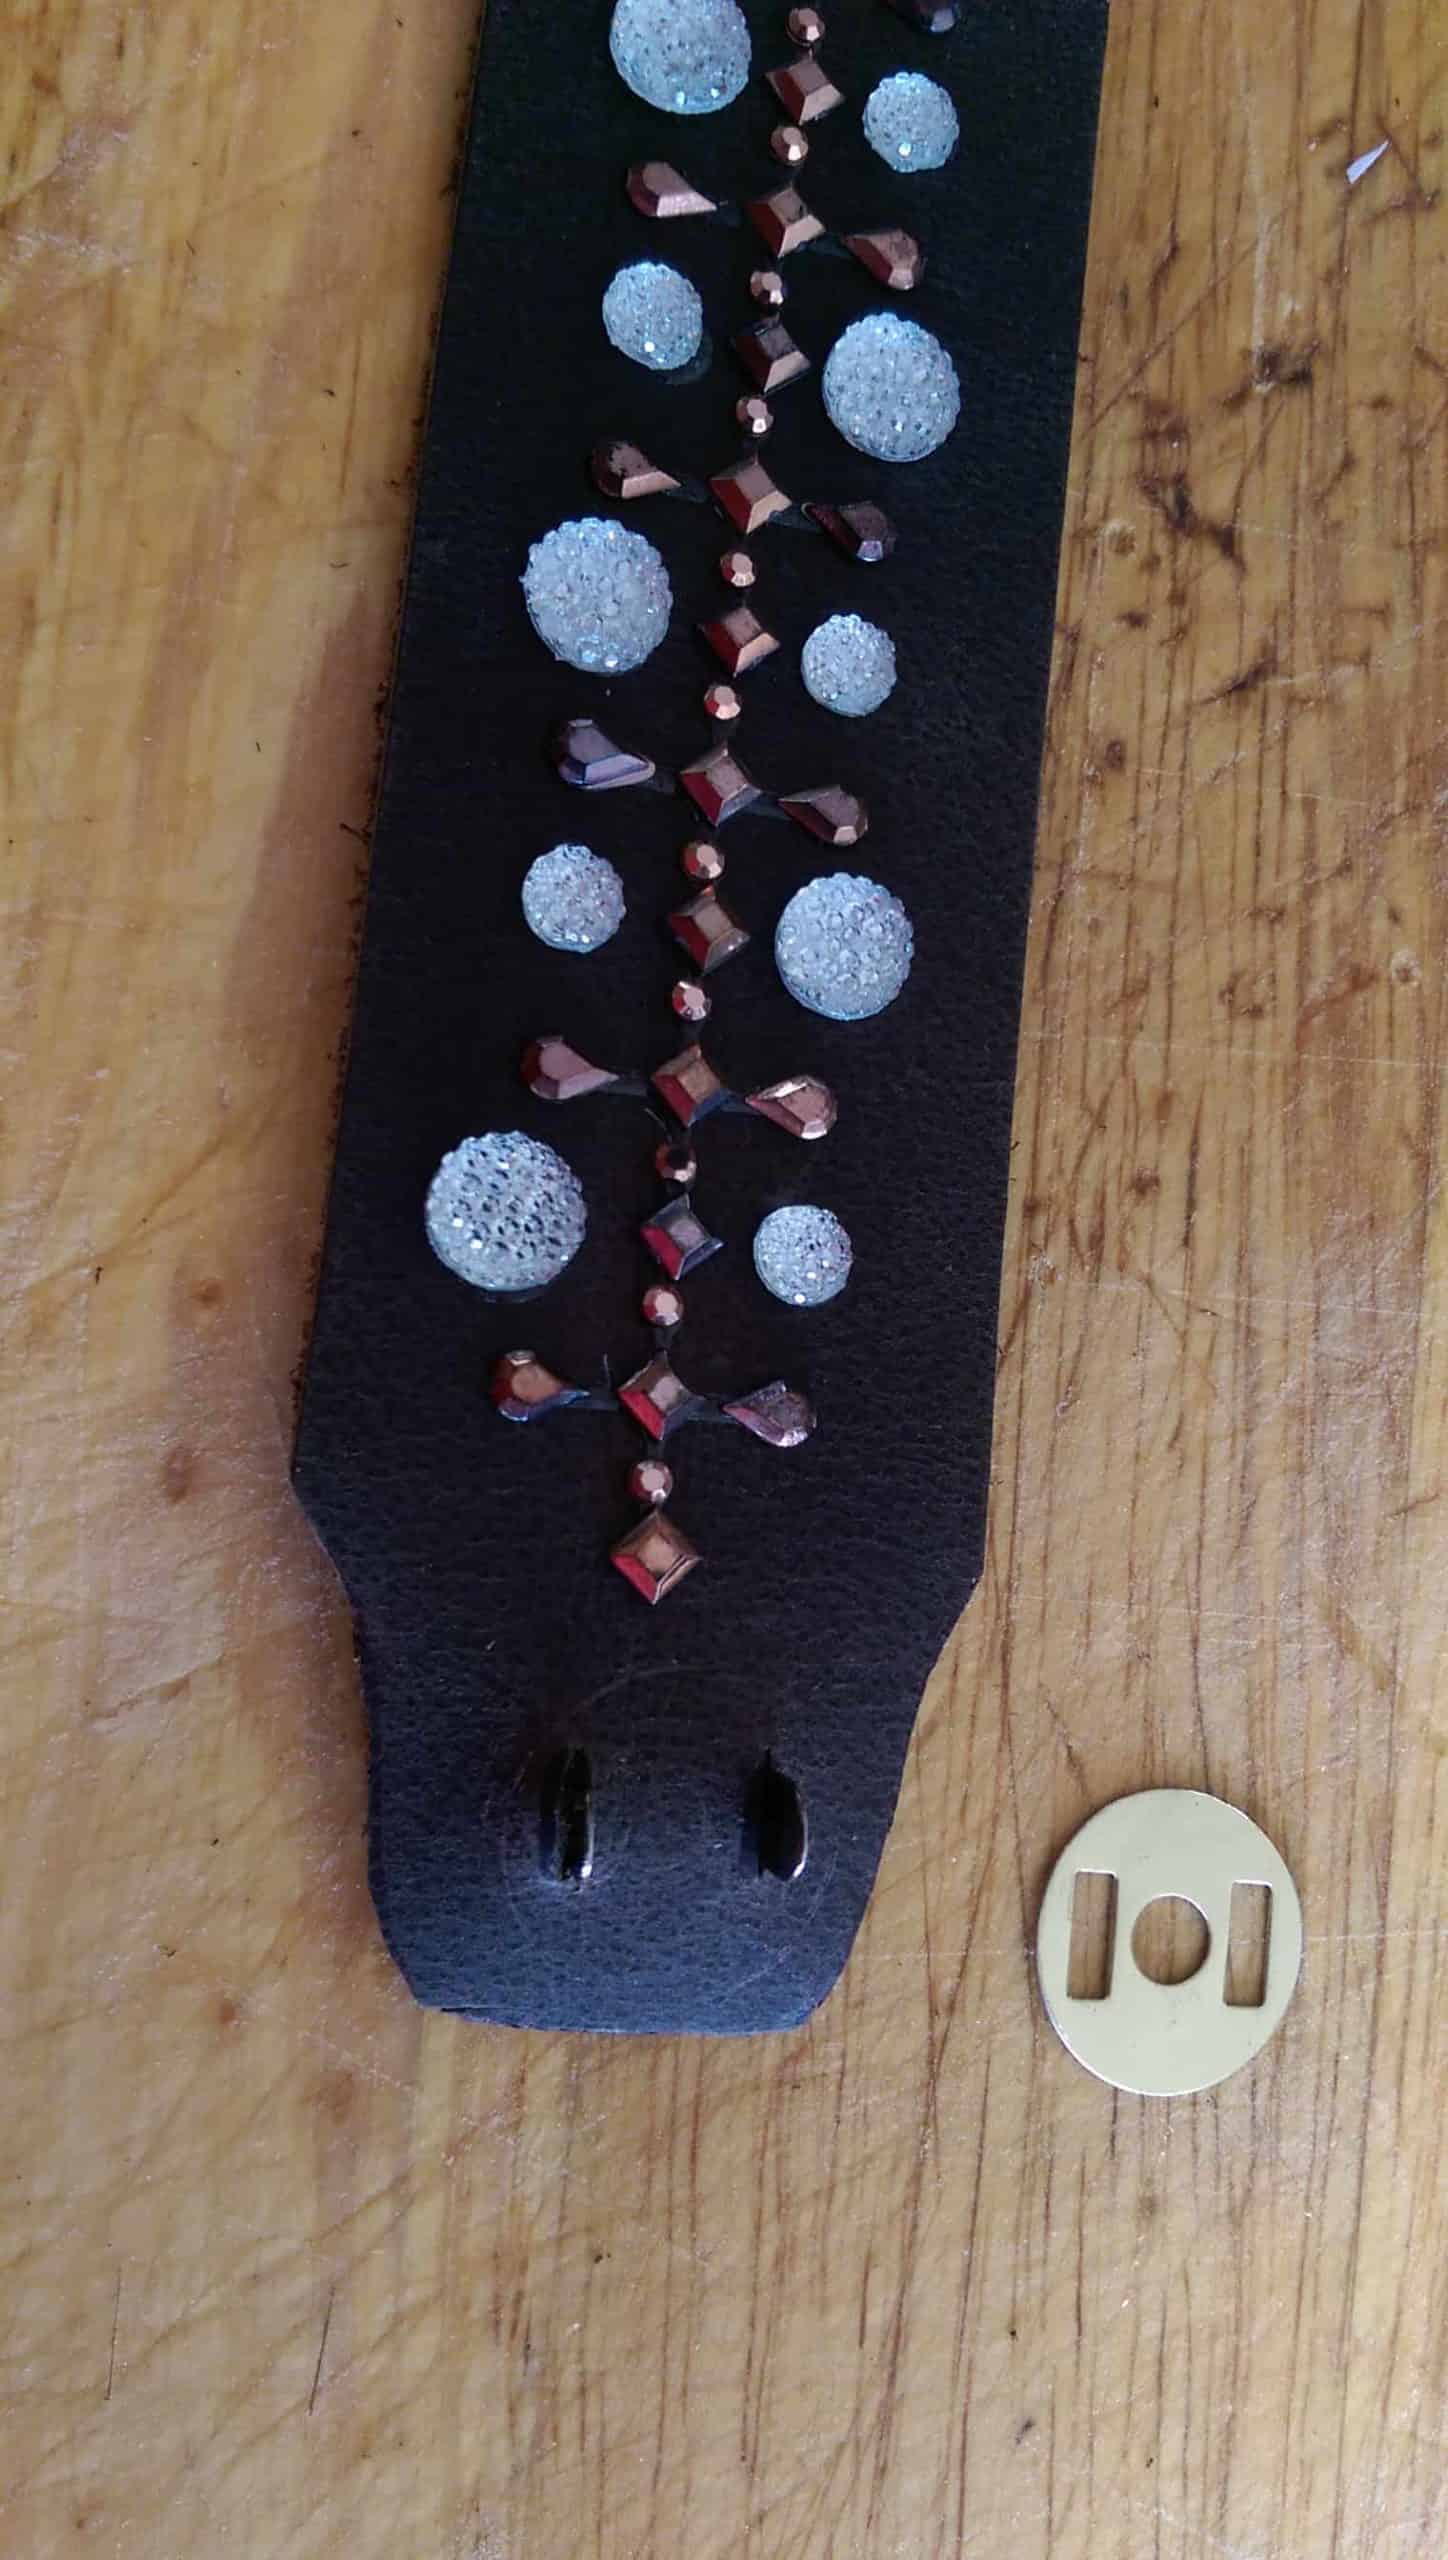
I’ve added crystals in between the copper studs.
Select your fastener. I’m using magnetic fasteners here that will go through and fold over on the back side. They work just like a snap.
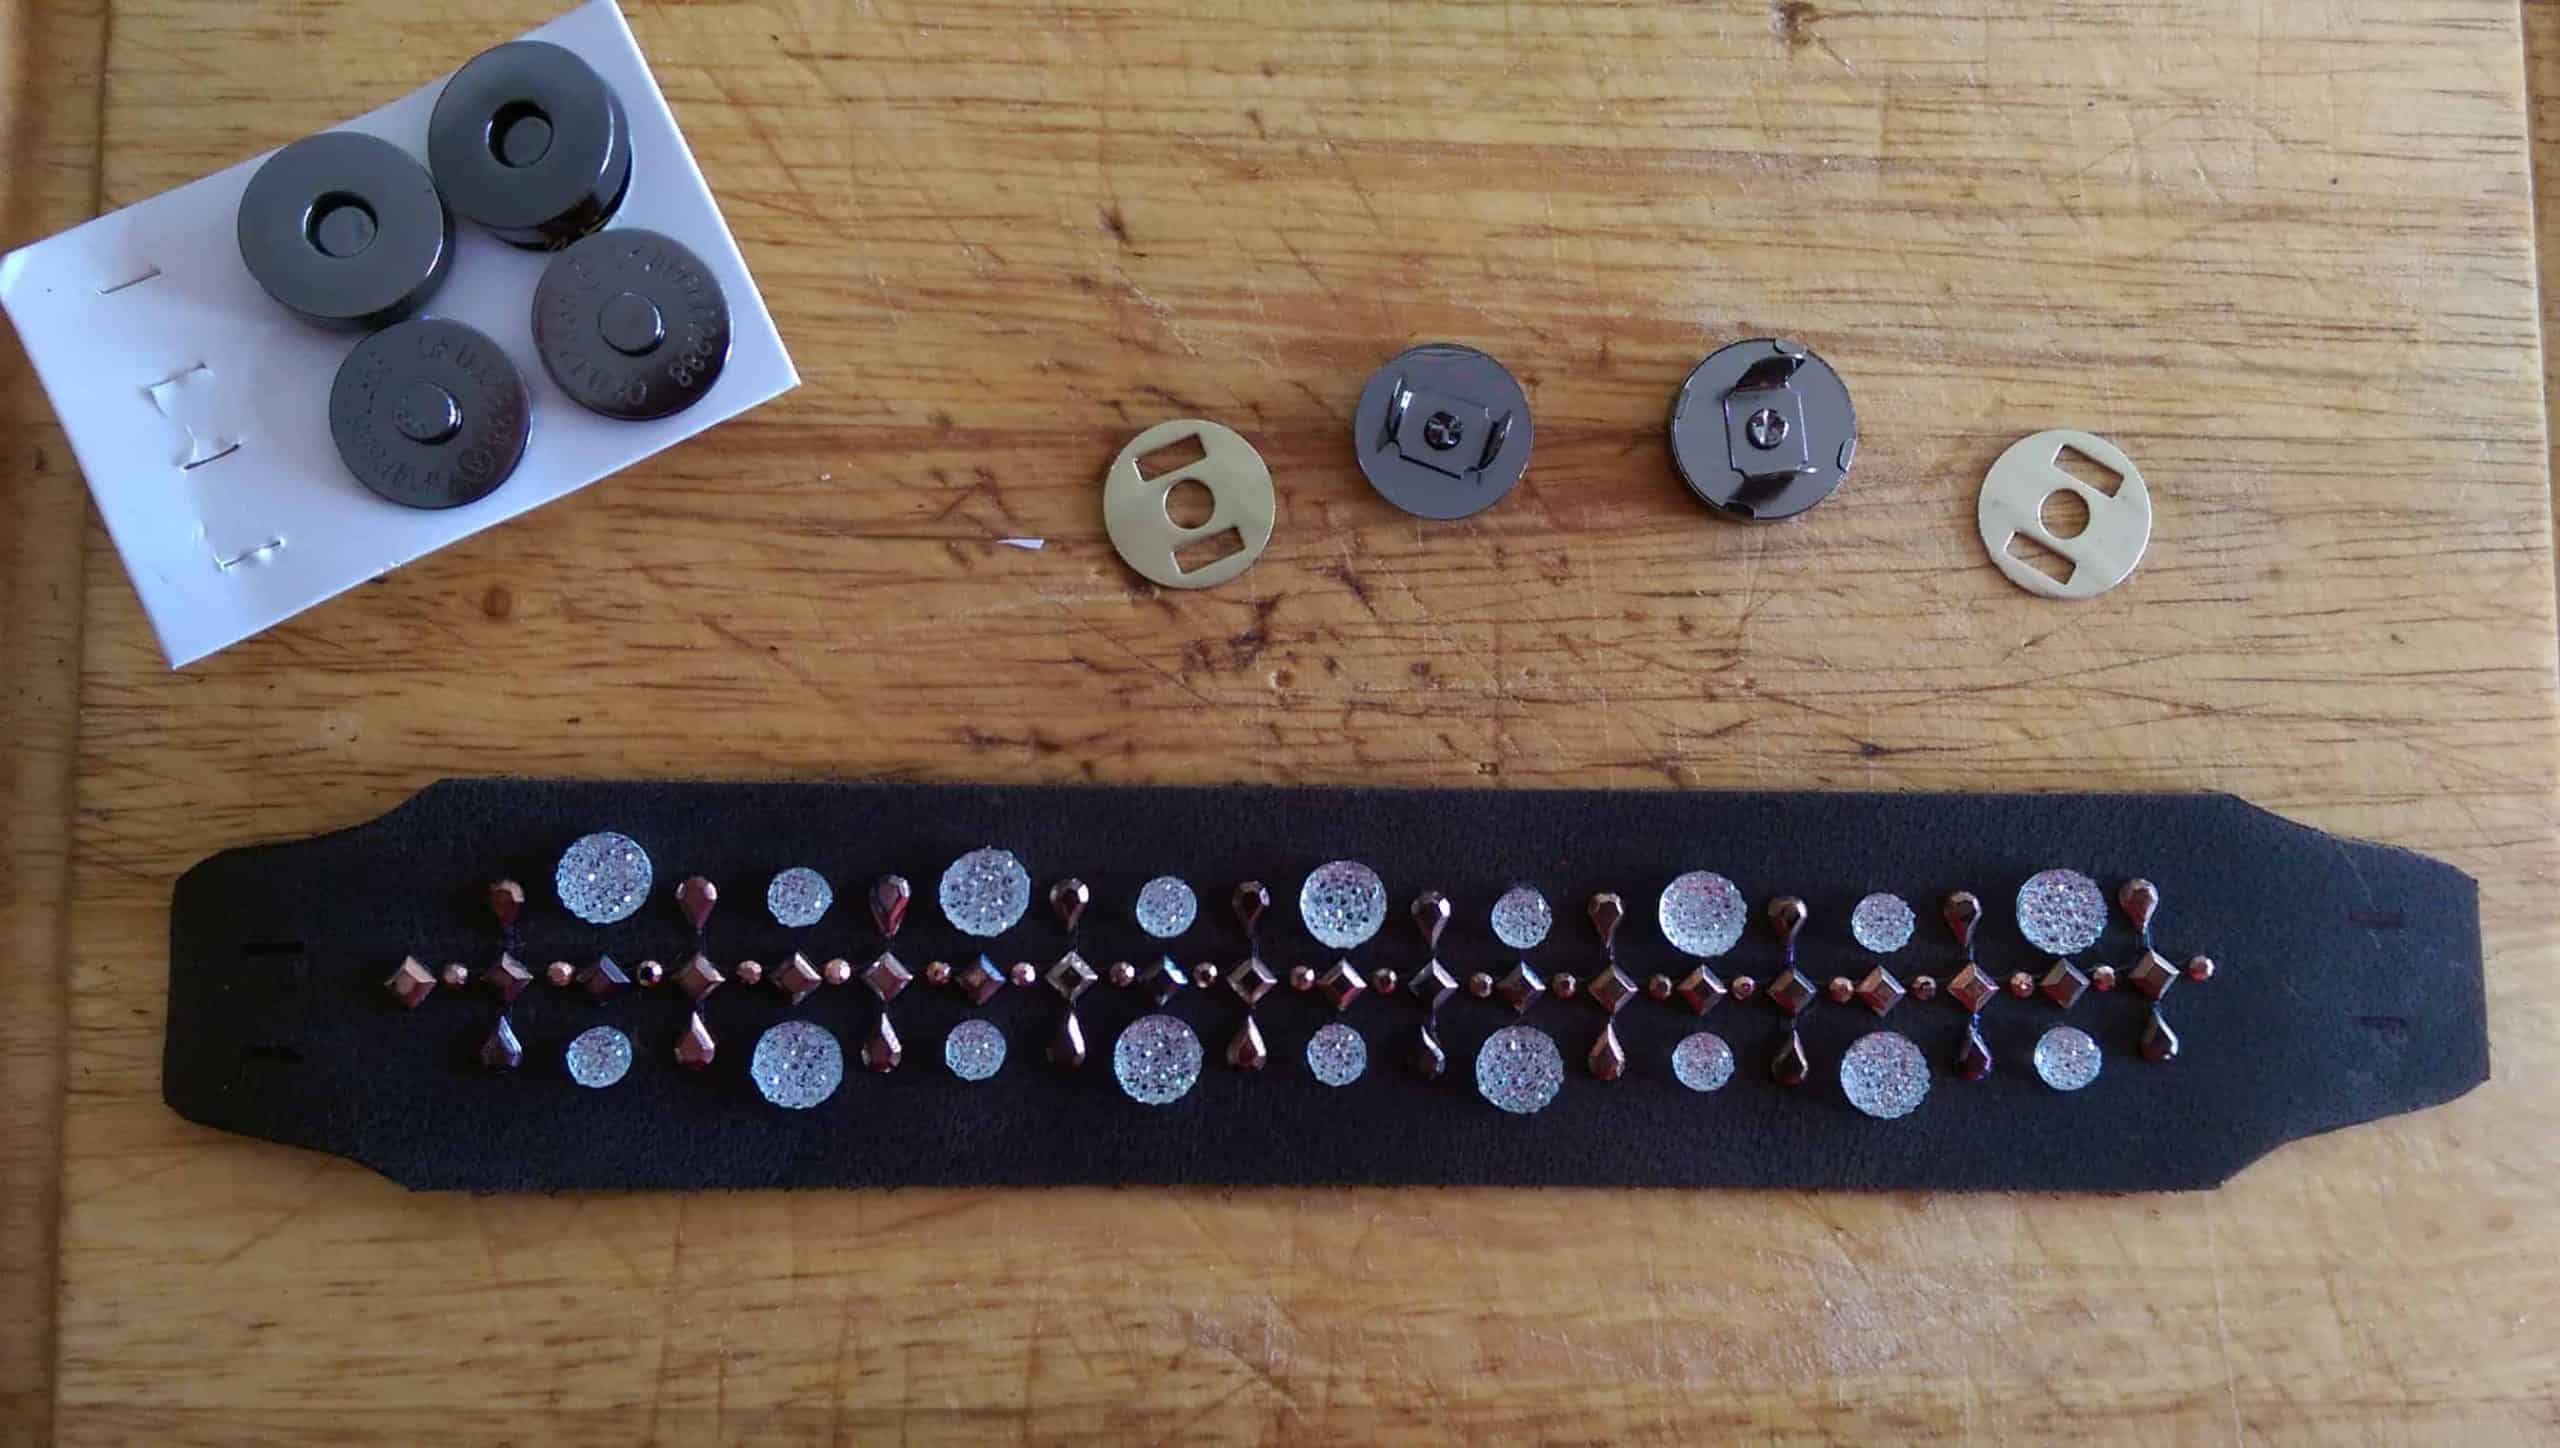
Cutting two slits through the leather for the fastener to slid through, attached the fastener, push through the leather and fold over on the back side.
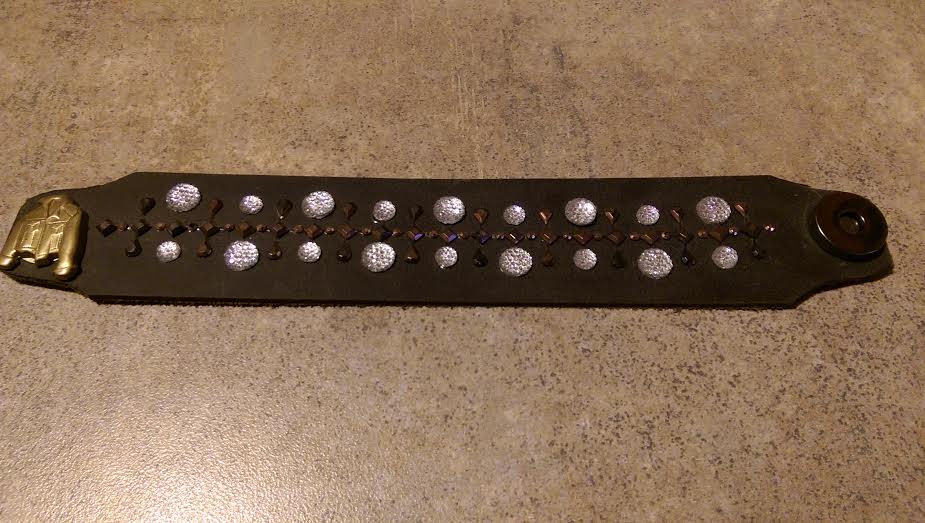
Cover fastener with a decorative crystal or other decoration you prefer. (I added a little leather jacket decoration) Finished product.
I’ll be Author Kelly Williams has something fun to show us. Did you know she has three books out now? Let’s hop on over and check out what she has to show us today.
If you’d also like to join us, add your link to ours and hop along.
]]>
Looks good Patti!
Thanks Stevie.
Great tutorial!
Thanks Lela.
Much easier than I thought, and very cute!
Thanks Nicole.
Very nice. Have you made anything bigger?
By bigger, do you mean wider?
Wider, longer. 🙂 I was thinking of a belt.
Oh. Gosh, I’ve never made a belt. I’ll put that on my list to try though.